
Another gem from Nigella here. No, she is not Brazilian, but this recipe is from a Brazilian friend of hers, according to the forward to this recipe in Simply Nigella.
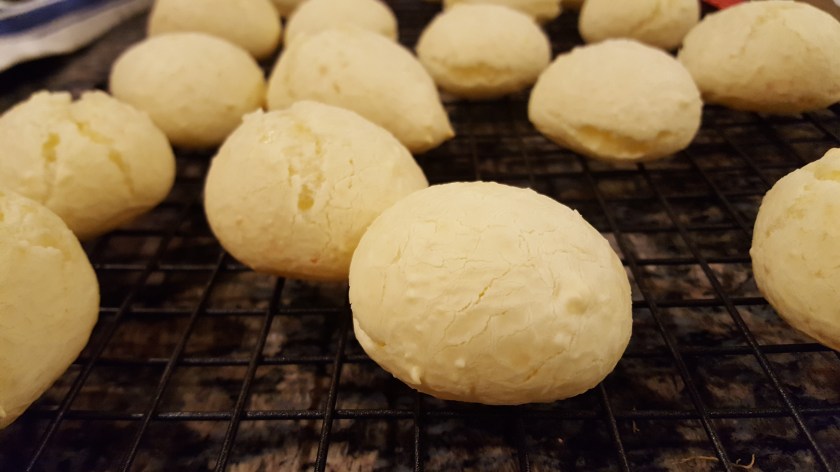
These little spheres of cheesy goodness are entirely unique and (I’m warning you) highly addictive. Their matte, bland appearance belies the chewy texture within. My first-grader gave them eight yums, and I suspect that’s how many he ate when we served them with dinner.
The Recipe
Makes 50 pieces I halved it. And I’m glad I did because if I had made 50 of these, we would have eaten every single one.
Ingredients
- 2 cups tapioca flour
- 1 teaspoon fine sea salt
- 1 cup whole milk I used 2% because it’s what was on hand
- 1/2 cup vegetable oil Light olive oil here
- 2 large eggs, beaten
- 1 cup shredded parmesan In the forward, Nigella suggests store-bought shredded parmesan. I used store-bought grated parmesan for more uniformity in texture. I did not buy a green can of Parmesan, I went for the Italian version in the gourmet cheese section of the grocery because I’m fancy like that.
Preheat the oven to 425 and line 2 large baking sheets with parchment, or use one sheet and bake in batches. Or halve the recipe like I did.
In a freestanding mixer, using the flat beater, or with a handheld electric whisk and bowl, combine the tapioca flour and salt. I was not paying attention and used the whisk attachment on my freestanding mixer. Also I mixed in the cheese here as well for some reason. I don’t think the first flub made a difference but adding the cheese did. Don’t add the cheese yet!
In a saucepan, heat the milk and oil, bringing gently to a boil and once it’s bubbling, take the pan off the heat before it becomes a full rolling boil. Pour immediately into the flour mixture and turn on the motor, though not too fast at first, beating until it forms a sticky batter. Even when I started the mixer on the lowest setting, I set off quite the tapioca cloud. It’s a VERY fine flour.
Carry on beating for at least 5 minutes (as you want it to cool down before you add the eggs) then scrape down and check with your fingers to see if it is still hot to the touch. You need it to cool to about body temperature,which could take up to ten minutes of beating.
Once you have reached this point, duly whisk in the beaten eggs, spooning them in very gradually, about a tablespoon or so at a time, and make sure that the egg is fully amalgamated before you add the next spoonful. Here’s where I think adding the cheese early messed things up a bit. My batter was SUPER runny, I suspect because the cheese melted from the hot milk. I ended up adding quite a bit more flour before it came close to resembling something scoop-able.
Finally, add – still beating – the Parmesan cheese in 2 batches, and continue to beat until all ingredients are, again, well combined. I added a little additional cheese here anyway because “too much cheese” is not an accepted concept in my kitchen.
Scoop teaspoon-sized balls onto the lined baking sheets. If you are baking in batches then refrigerate the unused batter as it waits. I use a rounded measuring spoon and, if needed, dip the spoon in water every couple of scoops, as the dough then drops out of the spoon more easily. I used a 2-teaspoon disher and didn’t fill it quite full for each scoop. My dough “balls” were more like dough puddles, but they baked beautifully. I think chilling the dough before dishing might be something to try next time.
Put in the oven, then immediately turn the heat down to 375, and bake for 12-15 minutes, until puffed and with a golden tinge. Let the cheese breads cool a little before serving. I think mine took closer to 15 minutes but then they were a little wetter to start.
Note
The bad news is that once cooked, these don’t keep well. The flavor remains but the texture changes to that of styrofoam. The good news is, you can chill the dough for up to a day or freeze unbaked, scooped breads for up to three months. Scoop, freeze on a sheet pan, then transfer to a storage bag and bake as needed per directions above.
